Beehives and comb cells are some of the most amazing things! To discover how hexagons are one of the strongest shapes for building with, we made various polygons out of paper---but first we investigated something intriguing I read in
this book. The author says:
"Recently, it has been suggested that the hexagonal cells are an 'emergent property,' that is, at the right temperature . . . the hexagons form on their own. First the bees make cylindrical tubes around themselves and then the hexagonal angles form. Chemically, the beeswax transforms from an amorphous (or unorganized) state into a crystalline state."
To test this, we rolled some clay cylinders out, about pencil size.
We put them into a group and squeezed them slowly together.
You can see that they have (kind of) formed hexagons! If our cylinders were more precise, and our squeezing more uniform, I think it would have been even more obvious.
We also had a good close look at this abandoned wasp's nest we found outside.
Next, we made polygons out of thin strips of paper. We measured the paper strips and figured out how many inches we'd need each side to be for squares, triangles, pentagons, hexagons, and octagons. We each made a couple examples of each type of polygon. Then we joined polygons of the same type together to see how they fit. We put a little foam ball inside each cell to see which cells were the roomiest for holding larvae and pupae.
We discovered that hexagons provide the least wasted space and the most interior space, for the least amount of material needed (perimeter) to make them.
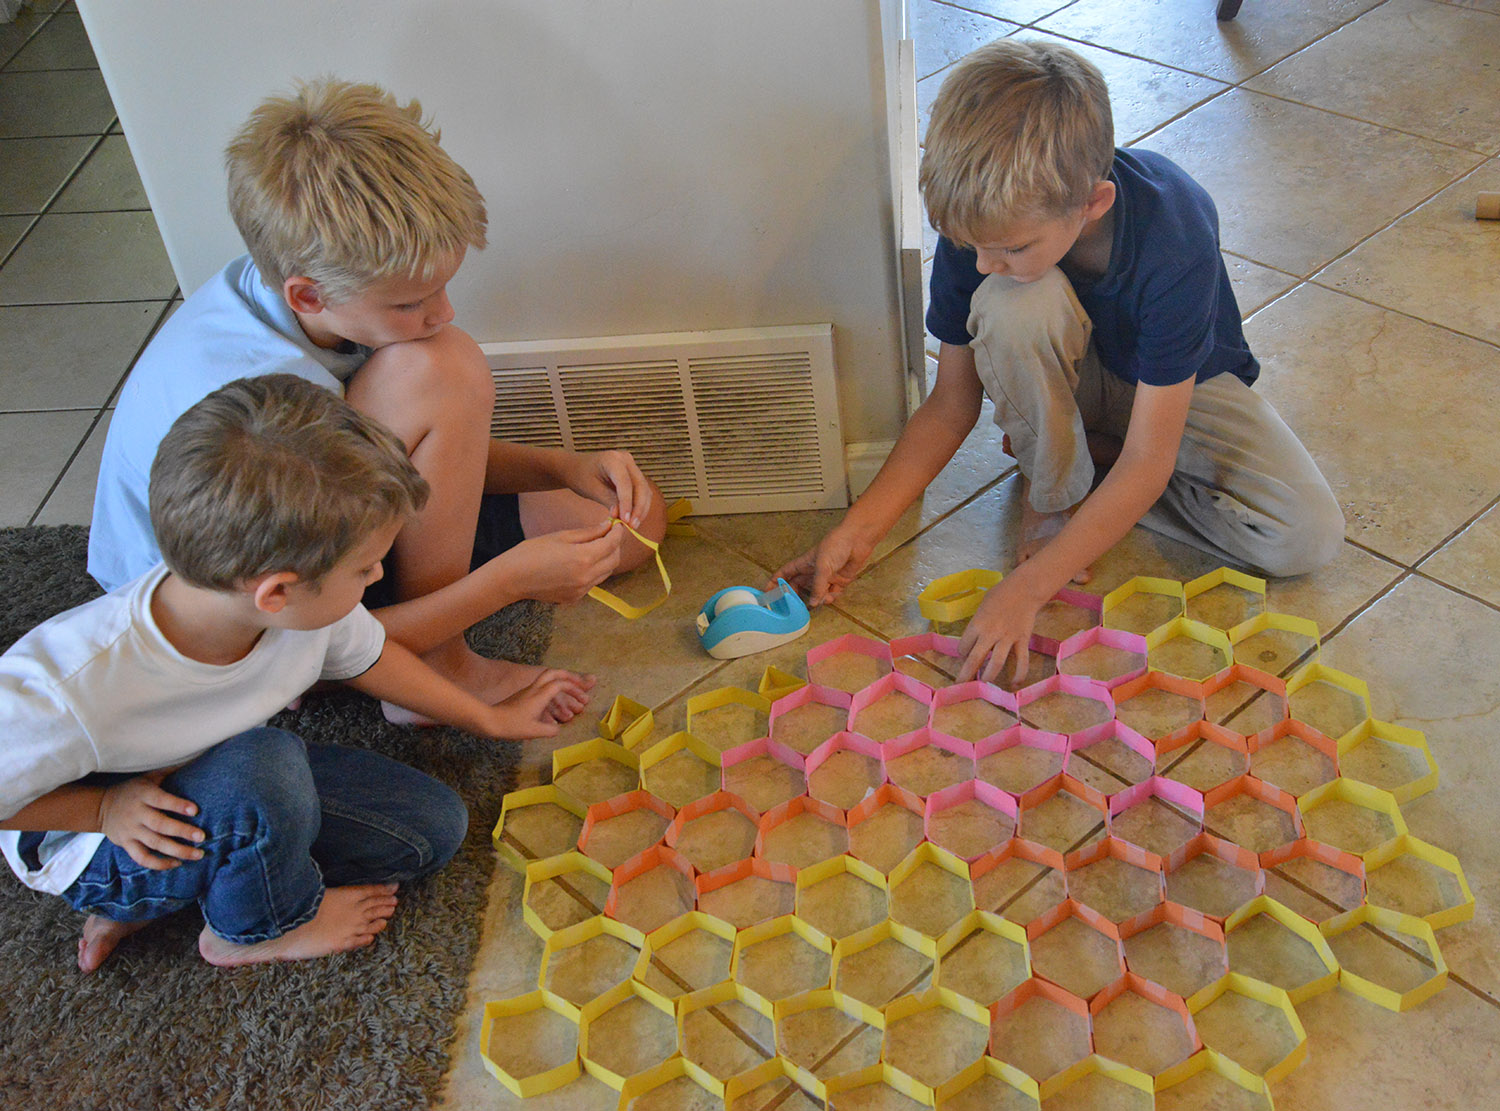
After that, we made comb cells with different colors of paper to represent their different functions. Honey cells were yellow, pollen cells were orange, and brood cells were pink. We arranged these cells in their relative places in the hive (see page 32-33 of
this packet for an example).
It was fun and oddly satisfying to make hexagon after hexagon and then tape them together. We would have kept going for longer if we hadn't gotten hungry for lunch.
We hung our finished comb up in a doorway. It got a little stretched out, but we didn't mind.
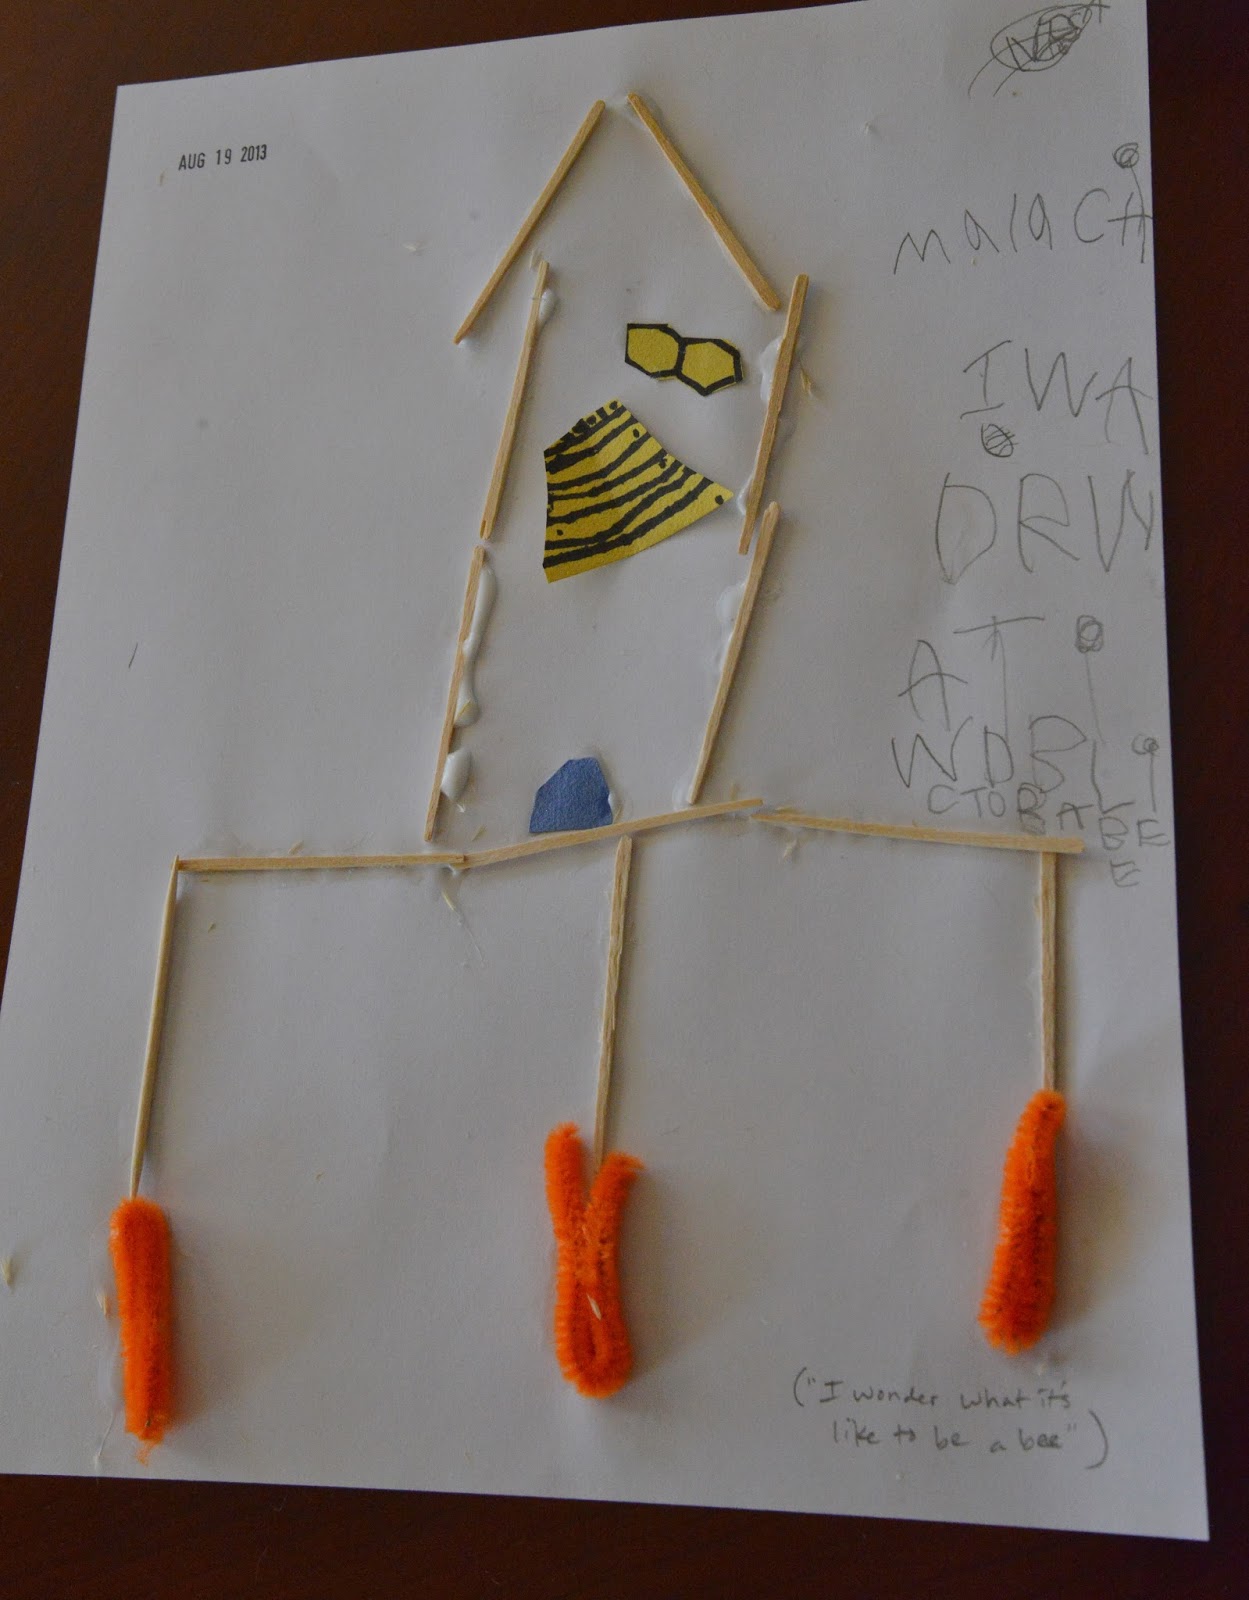
This is a queen cell hanging off the bottom. With a queen emerging from it.
We had so much fun with our big beehive that we made smaller ones too. These were made with half-size and half-width strips of paper. We put them on top of white paper so we could draw what each kind of cell was holding inside. Here is Malachi's beehive with honey cells, pollen cells, and brood cells. I love it!