Showing posts with label cells. Show all posts

Monday, February 15, 2016

Potato Osmosis activity

We talked about semi-permeable membranes and how nutrients, oxygen, and other things pass from the capillaries to the cells, or the alveoli to the capillaries, by diffusion or osmosis. This simple activity demonstrates the effects of osmosis. You cut a potato in half and put half of it in plain water and the other half in salt water. Then wait a few hours. (Put the cut side facing down; this picture shows it after we'd already turned it back over.) 

(White dish) Because there is a lower concentration of water in the salt water (the salt is "taking up" some of the space), the water in the potato cells moves out via osmosis. That makes the cells "floppy" or flaccid, since they have lost some of their water. You can feel that the potato is squishy and limp.

(Clear dish) The potato in the plain water stays firm and crisp. Because the concentration of water on the outside of the potato (in the dish) is the same as the concentration on the inside (in the cells), no osmosis occurs, and the cells stay firm and maintain their shape.

For another explanation of this, see here.

Monday, February 8, 2016

Blood Cells Under Microscope

After we did the blood typing activity we quickly smeared some of that nice blood onto a microscope slide so we could look at it! We have looked at blood cells before and they're very interesting, but it is harder than you think to get liquid blood! I've tried poking myself with a pin lots of times and I just can't get any blood (my survival instincts won't let me draw blood, I guess!). When I went to donate blood, I actually asked the nurse if I could have one of those little finger-pokers to use later, so I've got that one in reserve! But anyway, we already had some blood after blood-typing, so we leapt at the opportunity. :)

We're no experts in microscopy, so I'm not sure I can describe all the things we're seeing here, but you can definitely see those little flat/round cells! I am not sure if you can tell the red blood cells from the white? The white are bigger, we know. We thought we were picking out some differences but just weren't sure. And of course, my little iPhone photos don't really do justice to what we were seeing. It's hard to get in position a good picture without some sort of attachment for the phone!
We thought maybe that green triangle thing in the bottom left corner was a platelet?
And here is the blood as it was drying and starting to clot.

Friday, January 23, 2015

Protein Synthesis Cookies Activity

This was probably our very favorite of this unit's activities. It was fun and it just seemed to really cement the idea of how proteins are formed into the children's memories.

An overview: In this activity, each pan with cookie dough in it is like a ribosome, where the synthesis of proteins takes place. The long chain of code on your paper is a strand of mRNA that codes for a specific protein. Each cookie topping is analogous to a different amino acid. Your hand (I guess?) is like the tRNA that goes and finds the right amino acid floating around in the cytoplasm and carries it back to be placed into the amino acid chain. And, when you are done placing all the toppings in the right order, the chain is analogous to a protein that can be released into your body to build tissue or carry out various other tasks.

And more background:

Now. Here are the instructions. First, pre-activity preparation. You need to make a code-breaker sheet for each child. This will show which codons (or sequences of three bases) "code" for which amino acids (represented here by the various toppings—chocolate chips, peanut butter chips, marshmallows, etc.). Besides codons for amino acids, you need a start and a stop codon. Just so the children would know them, I used the actual codons for these that our bodies use--AUG for "start," and UAG (among others) for "stop." Then I just made up the other codons. Here was our "code":
  • AUG—start
  • AGA—chocolate chip
  • GCC—peanut butter chip
  • AGC—white chocolate chip
  • UGU—sprinkle of cinnamon
  • CUG—sprinkle of coconut
  • AAA—chocolate kiss
  • CCA—peanut
  • GGU—sprinkle of rainbow sprinkles
  • AUU—marshmallow
  • UAG—stop

Next, write out the sequence of bases for each "protein." (Remember, proteins are chains of amino acids.) I made a different protein for each child (with a shorter one for Daisy to make it a bit easier for her). I included a sequence of "nonsense" at the beginning of each protein, representative of all the RNA that doesn't code for proteins in our chromosomes. I put in some nonsense at the end, after the "stop" codon, too.

I also made an answer key for myself, listing what the finished protein should look like for each child, so I could quickly check their work. (So for example, "3 chocolate chips, white chocolate chip, sprinkle of cinnamon, peanut, marshmallow, two peanut butter chips.")

And then, of course, you need to make your cookie pizza dough, and gather a bunch of different toppings. Here's the recipe for cookie pizza. We love it.
So, to do the activity, each child starts with a small pie pan and a handful of cookie dough. Press the dough into the pan about 1/2-inch thick. (Of course, you can press your dough in circles straight onto a cookie sheet, or even make a whole cookie pizza and let each child make his protein on a different section of the pizza. It's just easier for everyone to work at once when you use separate pans.)
Then, each child should look at his section of RNA code. Have him scan the sequence until he finds the start codon (AUG in our case). Circle the start codon. Then, with a pencil, make slashes or commas between each group of three bases after the start codon. (Don't divide the bases into groups of three before finding "start," or you might make your divisions in the wrong places and get totally different amino acids than you're supposed to! This does happen sometimes with DNA or RNA—it's called frameshift and can happen if a base is wrongly inserted to or deleted from the gene.) When you get to the stop codon, stop.

The next step is just transcribing each codon into its respective amino acid. So, with our example, if you saw "AGA," you would get a chocolate chip and place it onto your cookie. Line up the amino acids in the correct order, you can curl them around in a spiral or a wavy line if they won't fit in a straight line across your cookie (and this, too, is analogous to real proteins, as each protein has a specific shape which helps it do its job). When you get to a stop codon, you are done. 
Then bake your "protein" at 350 for 8 minutes or so (for small individual cookies) or 15-20 minutes (whole cookie pizza). Remove from oven when edges are just starting to brown. Cool and eat!
We had some extra dough, so we made a full cookie pizza also. We just let each person decorate a piece however they wanted to, but you could also do your mRNA transcription on a section of the pizza if you wanted to.

Friday, January 16, 2015

Mitosis Cupcakes

Here is a good video about Mitosis.

This was a really simple activity, but a fun review after learning about mitosis. We were inspired by this picture here. I put the children into teams (one older and one younger child together) and each team had to show each step of mitosis on a cupcake "cell". We used colored frosting in a plastic bag with the corner cut off to pipe on the yellow frosting, and we used chocolate sprinkles to make the chromosomes. (I guess the middle two steps are kind of a zoomed-in view of just the nucleus, really.)

Everyone especially liked the splitting cell in telophase. It does look especially cute, for some reason.

Wednesday, January 7, 2015

Plant and Animal Cells through the microscope

We started this unit with an overview of cells: their structure and composition, and how they work. This was a bit of a review, since we talked about the structure of neurons quite a lot during our nervous system unit. It was interesting to see how, even though the basic parts are the same, the different types of cells in the body can look (and function) so different(ly) from each other! We just learned very briefly about what the organelles do, since that wasn't really the focus of this unit. We did get more in depth about the ribosomes and the nucleus later, as we talked about DNA replication and protein synthesis.
Skin cells at two levels of magnification
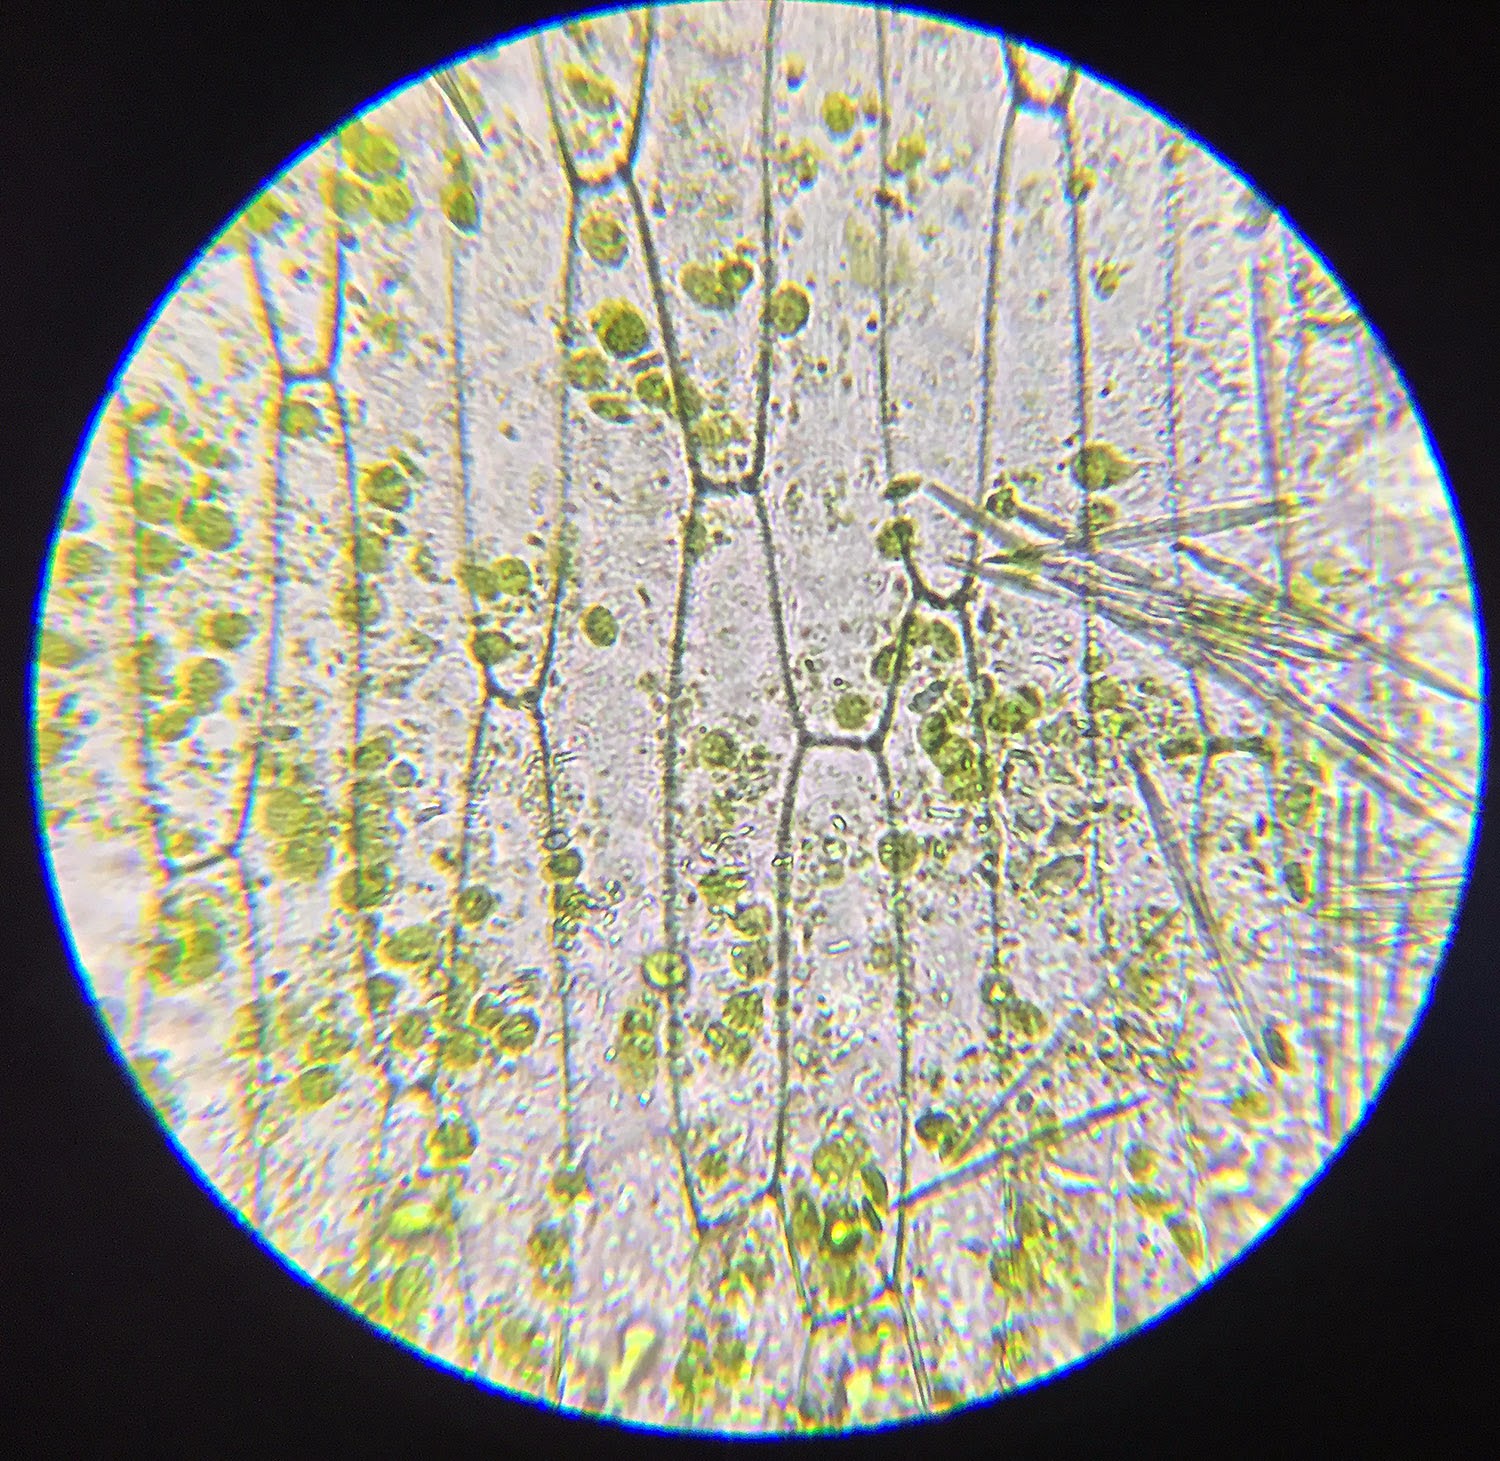
Leaf cells (not sure what kind of leaf it was) :)

I remember, very fondly, making a cookie model of a cell in 9th grade Biology, and sometime maybe if we have a unit on just cells, we'll make models too. But I decided against it this time since, again, that wasn't really the main focus. However, I did think it would be very useful to see some cells and get an idea of how they make up all living things, so we got out the microscope and looked at some plant (onion, carrot, leaf) cells, and some animal (skin, blood) cells. We were amazed how much we could see with just our small microscope!
We used some fountain pen ink to dye the onion skin cells, and that was cool. The cells are so neat and orderly! You can see how much structure the cell walls provide. And we were pleased to be able to see the nuclei so clearly with the ink dye.
We also were surprised to see the chloroplasts moving around in and between leaf cells (shown in the video above)! We learned that chloroplast movement helps transport proteins in and between cells, and also allows the chloroplasts to get better access to sunlight, so they don't get stuck somewhere shady and become unable to make chlorophyll. Pretty amazing to watch it happening.
Blood cells—a bit blurry
The blood cells were really interesting too. They were moving around right at first, but the blood dried quickly and then they didn't move. We only looked at blood in the first place because I accidentally cut myself on one of the microscope slides, but then it was so cool that we wished we could look at more of it. I tried to poke myself with a pin but no matter how hard I tried, I just couldn't draw blood! I wished I had one of those poker things they use for your finger when you go back donate blood. We didn't think we saw any white blood cells (although that might be one near the top right edge?), and we would have liked to find some, so we'll be looking for another opportunity next time someone gets hurt around here. :)

Monday, January 27, 2014

Neuron Models with licorice and fruit leather, and Neural Connections drawing

Abe's neuron
There are so many ways to model a neuron, and I don't know that this one is particularly better than any other, except that I do like the way the myelin sheath fits neatly around the axon in this model. We used fruit leather for the soma, and the pull-apart type of licorice for the dendrites and axon. The regular Red Vines (they are hollow) allow the thin pull-apart licorice to be threaded through. Fun!
Ky's neuron
Daisy is so proud of hers!
Seb's neuron
I should add that the neurons aren't the only nerve cells worth talking about! One day when we were reviewing neurons, Malachi said, "Nobody appreciates the glia" [sad face]. It's true. Poor, poor glia. We made sure we appreciated them (and in fact, our model contains them---the myelin sheath is made by one type of glial cell).


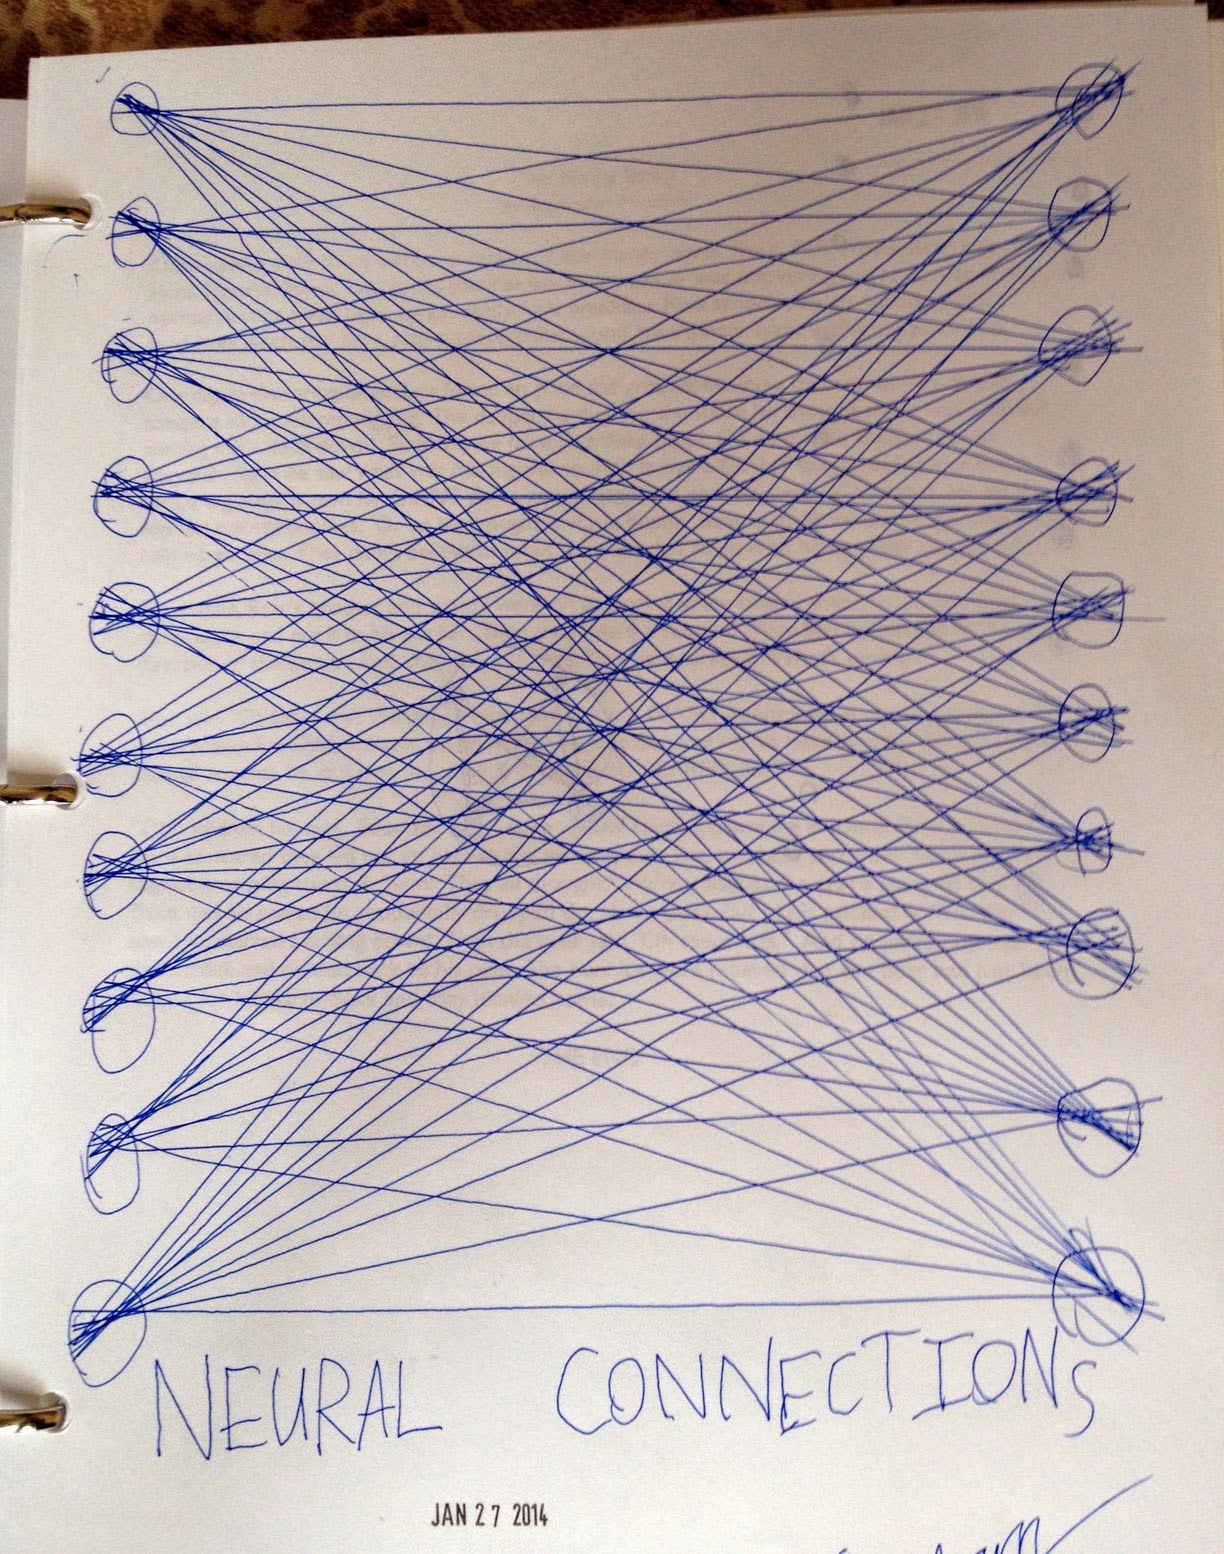
We also drew pictures like this, which I got the idea for . . . somewhere . . . ? It's to illustrate (in much-simplified form) the complexity of the neural network---how the chains of neurons aren't just nice neat pathways, in other words.
Related Posts Plugin for WordPress, Blogger...