Showing posts with label painting. Show all posts

Monday, May 18, 2020

Marbled Paper Jupiters

While looking for activity ideas, I ran across this post about Marbled Jupiters and was intrigued by the idea. We've done paper marbling before and I've always wanted to revisit it, since it didn't work perfectly last time (but was still fun!). This is also just the sort of thing that I only manage to gear up for if I have to, for a school unit! I am not normally a person who loves to do crafts with children, but when I make the effort, the kids always have so much fun!

The "marbled Jupiters" post has some instructions about paper marbling, but I thought it was explained even better here. In case that link ever breaks, here are the basic instructions:

1. Pour 2 cups of liquid starch (you get it in a large bottle by the laundry products in any grocery store--it looks like this) in a wide pan, then add 1/2 tsp alum, stirring until mixed. The alum helps the paint stick to your paper, and I think this is a key ingredient we were missing last time we tried marbling paper! The paint clung to our paper (we used cardstock, but I've also read that watercolor paper works well) much better this time!

2. Take several colors of acrylic paint and put several drops each into bowls or paper cups, one color per bowl. Mix a little water into each color of paint to thin it and make it easier to drop.

3. With an eye-dropper or just with a spoon, drop several drops of the paint onto the top of the liquid starch/alum solution.
4. Gently swirl and marble the paint with a skewer or a plastic knife. (At this point, since we were making Jupiters, we also tried to make some storm-like features, and even a Great Red Spot.)

5. Lay a sheet of paper gently on top of the starch/paint bath, pressing down firmly. You can submerge the paper slightly.

6. Rinse the paper in a clear water bath. (The paint won't wash off—amazingly! Because of the alum, I think.)

7. Lay the paper on a flat surface to dry, but be careful—the starch will make it sticky and once it dries it may stick to your surface! Maybe we'll try using wax paper as a drying surface next time.
This was a really fun projects and we LOVED our finished Jupiters! We hung them up on our bulletin board for display.

Monday, May 29, 2017

Making Egyptian Amulets

We saw this idea about how to make an Egyptian amulet (hint: you just use air-dry clay, ha ha) and knew it would be a fun project. We had just been listening to a P.G. Wodehouse audiobook (this one, to be precise) which featured, quite prominently, a stolen Egyptian scarab (of the 4th Dynasty), so the children were all quite pleased to be able to make our OWN scarabs.

The air-dry clay isn't the MOST sturdy of media to work with, but it was at least easy to mold, and we all liked our finished amulets. Malachi may have liked his lucky owl most of all. He wore it around for several weeks and said it brought him great power and good fortune.
Sebby's monkey amulet (or "monkulet")
Junie's bunny
Some ankhs and a scarab.

Saturday, May 30, 2015

Japanese Cherry Blossom Art

Inspired by these collages and these lovely paintings, we decided to do a combination of the two and make some multimedia pictures of Japanese cherry blossoms (or sakura.) We liked learning about the significance of sakura to the Japanese, and its symbolic associations with the samurai and the fragility of human life. This video tells more about cherry blossoms, and we also liked this book about the cherry trees Japan gave to the United States.

Utah actually has a similar story: Boy Scouts in Japan donated some cherry trees to the International Peace Gardens in Salt Lake, but they had to be burned because of quarantine issues. You can read that story here.

We made these paintings by first washing a thin coat of blue paint onto watercolor paper (cut into long rectangles to look sort of like a Japanese scroll). Some of the children put a paper cup over their paper and painted around it to leave a white "moon" in the background.

Then we put lines of very watered-down brown tempura paint onto our papers and blew along the paint with a straw. This was supposed to move the paint organically down the paper and make it fork into natural-looking branches. It worked pretty well, though it was hard not to blow down and make a big blob on the paper. We got better at it as we went along. We also kept getting light-headed, so if you try this remember to take breaks every now and then.

Last, we put little squares of pink tissue paper around the eraser side of pencils, dipped them in glue, and pressed them onto the paper. I remember how much I liked doing this in kindergarten, and I STILL like it. It's just fun.
Some of the children wanted to write things on their pictures, so they looked up kanji characters and tried to copy them.
Junie's cherry tree. She did this all by herself. I like it.

Wednesday, May 20, 2015

Japanese homes and culture; Japanese art projects

My friend Carrie Ann, who teaches college classes in interior design, and who has been to Japan to visit her brother and Japanese sister-in-law, graciously came to talk to us about the traditional Japanese home. It was awesome. She showed us lots of pictures and we learned some new words:

tatami—the straw mats that line the floor of traditional homes
tokonoma—a little alcove where beautiful things are displayed (usually a scroll, some seasonal flowers, etc.)
genkan—the entryway, a step down from the rest of the house, where people leave their shoes
ikebana—traditional Japanese flower arrangements
wabi-sabi—Carrie Ann described this as the concept of "perfectly imperfect." We loved that.

The children also wanted to know ALLLLL about Japanese toilets. And Carrie Ann obliged. They are cool! Heated seats, jets of cleaning water, etc. We wish we could get one. We later watched a whole episode of "Begin Japanology" (we LOVE that show) on toilets. We highly recommend it. It is the most discreet, polite, yet fascinating look at toilets you will ever encounter.
Another day, we watched this fascinating video about kimonos. There are so many different and beautiful designs! And it was really interesting to learn that they are only sewn with straight seams.

We made little paper dolls/bookmarks wearing kimonos. We got the idea here: paper kimonos. The template for the doll and kimono is here. I just went into Photoshop and erased the flowers from the image so we could draw our own designs. I personally like Abe's ultramodern Rubik's Cube kimono design.
And here is another art project we did. We learned about Katsushika Hokusai and looked at some of his famous woodblock prints. I thought about having the children make some woodblock prints themselves (we have done this before, when learning about Winslow Homer and the Civil War) but we were short on time that day, so we ended up just painting these Japanese woodblock print coloring pages. They liked doing that too.

You can learn more about Hokusai (and see examples of his work) here at Artsy.

But—the best thing we did was watch some videos showing every step of the process of traditional Japanese woodblock print-making. Sam's friend did a kickstarter project where he had some of these prints made using the old methods. The videos are fascinating. A little long, but it just gives you some idea of how much meticulous, painstaking work goes into making a woodblock print like this. We were all just amazed. Here is a link to those videos: Woodblock prints process

On another day, we wrote haiku. These are the two the children came up with together as we learned about the form (they also each wrote their own). I think they're pretty good.

Monday, October 27, 2014

Polar Bears and Polar Bear Paintings


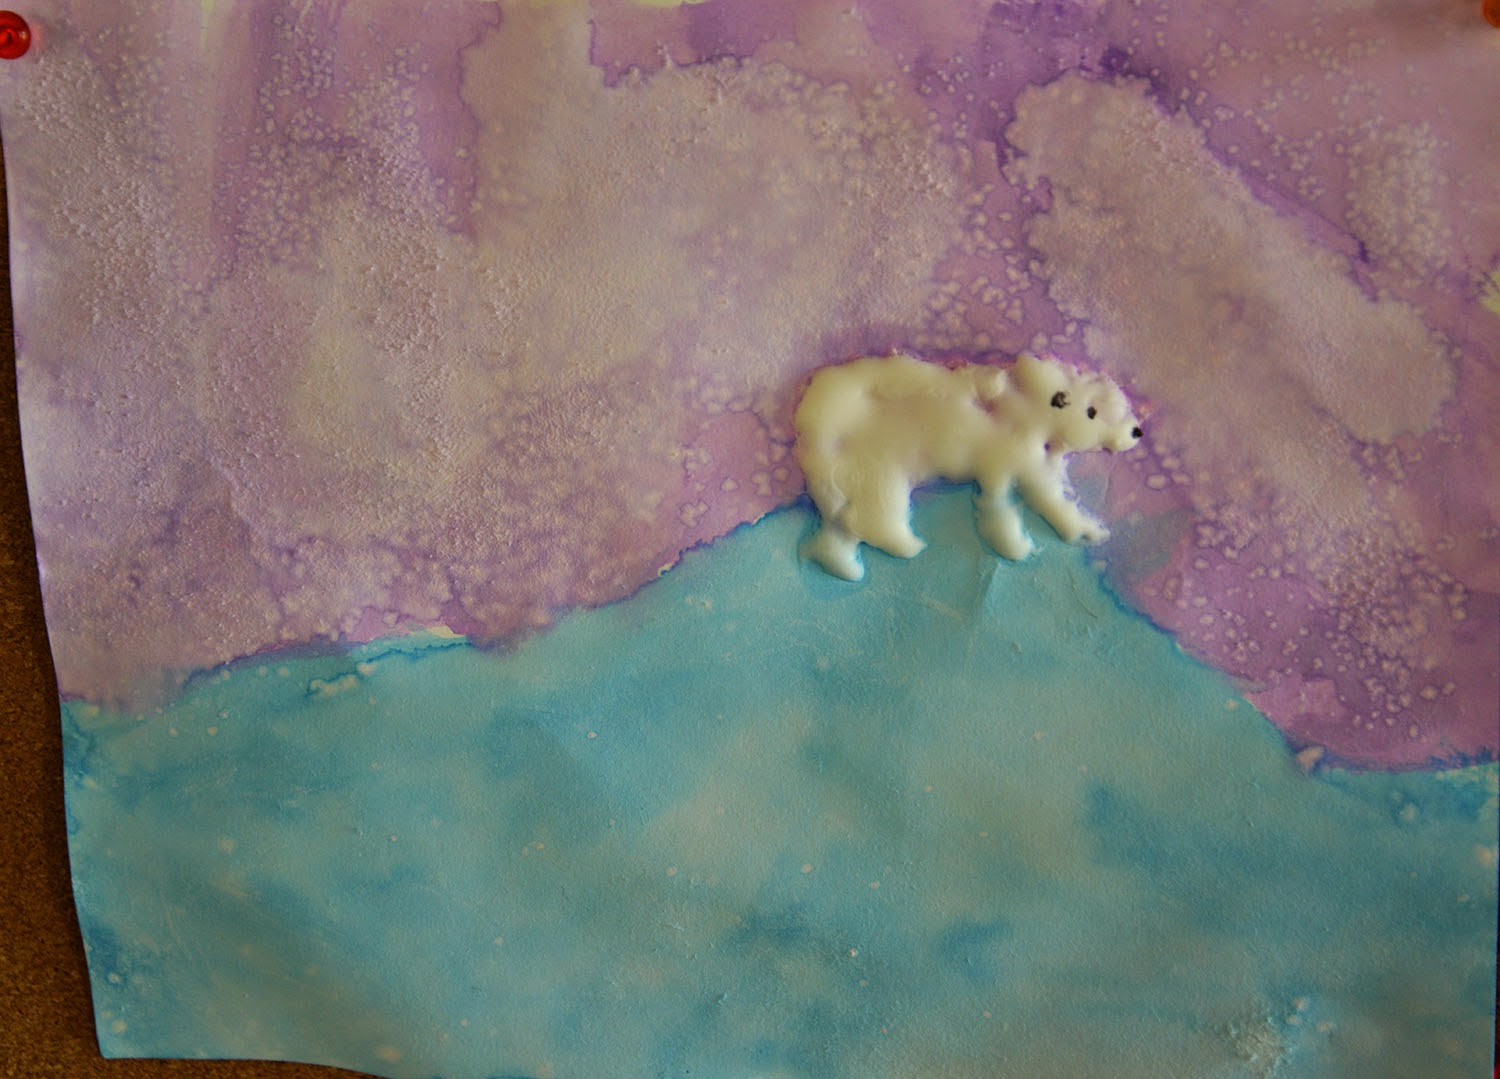
We had a great time learning about Polar Bears and especially liked painting these arctic winter scenes. There is a great tutorial for the paintings here: arctic polar bear paintings. Instead of plain white, we used this puffy paint, which made the bears look even furrier and bear-ier.

I liked seeing the variation in how these paintings turned out. The blog linked above suggested that the children use plastic wrap pressed on the wet paint to create a cracked, icy texture on the blue ground. That worked pretty well in some of the pictures:
But not so well in others. On the other hand, the salt crystals in the sky in this picture made quite a nice snowy effect.
This is probably one of our favorite art projects we've ever done. We just love those wintry, puffy bears!

Some more polar bear stuff:

Polar bears have clear, hollow fur, and under the right conditions, it can actually turn green!
Not really about bears, but interesting when discussing the arctic: how to build an igloo 
The boys loved this polar bear "spy camera" so much!
They thought this was hilarious, too.
Related Posts Plugin for WordPress, Blogger...