Since "washi" means paper in Japanese, I guess it's kind of redundant to say "washi paper," but I thought it might be more useful for search engines that way. :)
We had a great time making paper. Really, it's not true "washi" because it's not made from the same materials, but the process is similar, even though we had the benefit of a blender and paper scraps to use for our pulp! We gained a new appreciation for this ancient Japanese craft. If you'd like to see the process done authentically,
this video shows washi being made (without much explanation), and
this longer video shows the whole process, with commentary. We liked the second video best.
When I was young, I remember trying to make papyrus out of iris leaves for a school project on Ancient Egypt. I think my mom and I managed to make something that kind of worked, but I wish we'd had the internet to help us, because there are so many tutorials on paper-making! I thought
this was the best tutorial for our purposes, because it didn't require us to buy anything (many tutorials have you build a basic screen frame, which seems fairly simple, but not as simple as just…using what you already have) and the pictures were really clear.
In case you want more direction than that on how to make paper, I will walk you through the process as it worked for us.
1. First, decide what you want to use for your pulp. Mostly, you can just use scrap paper, although we read that glossy pages (like from magazines) and newspaper don't work as well. Envelopes are good. We also put in iris leaves, because real washi uses plant material (softened bark and roots), so we wanted to use some plant material too, and iris leaves seemed like they'd be nice and fibrous. (They really probably should have been soaked to soften them first, but they blended up fine, so maybe it doesn't matter.) They made our paper kind of greenish.
Just tear up whatever materials you are using into smallish pieces and put them in the blender. *NOTE: make sure your scrap paper doesn't have tape on it! We accidentally left some pieces of tape on our paper, and it did NOT blend up well. We kept having to pick little hard bits of tape out of our pulp.
2. Cover the paper pieces with water, so they are mostly saturated. Then pulse it in the blender until it makes a thick pulp. Make sure everything is really well-blended, so you just have a thick, soupy pulp with no big chunks of paper in it. You will need about 4-5 blenders full of paper to make into pulp.
3. Pour the pulp into a large container which has been filled partially with water. We put about 2 inches of water into this plastic bin, and then poured the pulp into it. We used about five blenders full of pulp in total. You want the mixture to be thick, but not too thick. About like a blended potato soup. You can experiment with the pulp-to-water ratio: more water-to-pulp will give you a thinner, more delicate paper. In the video we watched, the washi was SO thin, it was almost translucent. It was beautiful. If we do this project again, I'd like to experiment with trying to make thinner paper, but the thicker paper is really nice too, and I think it might be harder to mess up. :)
4. Stir the pulp so that it mixes thoroughly with the water and the mixture is consistent all the way through.
5. Now, you need a screen. Any screen will do! In traditional washi making, they use a sort of mat (it looks like the same type of mat you use for rolling sushi, kind of bamboo-y, with slats). That's nice because it's flexible and you can kind of bend it off the paper when it's time to separate the paper from the mat. But here, people seem to usually use screens. This is the part that seemed needlessly complicated in lots of the tutorials we found. Some said you should construct a sort of two-sided folding frame, called a
mold and deckle, out of a screen and some wood. This does give your paper a nice straight edge (and makes squeezing easier), but if you are just doing this for fun and don't want to bother with it, you really don't need it.
The tutorial we used dispenses with the mold and deckle, and has you use two screens (one for holding the paper, one for pressing) instead. But we thought you don't even really need TWO screens. Just one. A round splatter guard screen like
this one will work fine. It will make your paper come out round, but you can always trim it into a square later if you want. We also tried using this rock-sorting screen we had (the rectangular one pictured above) but because it had a frame around it, it actually seemed a little harder to use.
Immerse the screen fully in the pulp and then lift it up evenly, wiggling it slightly as you lift. You are trying to get an even coat of the pulp onto the screen. You'll get the hang of it after a couple tries.
6. Lift the pulp-covered screen out of the pulp mixture, and lay it on a bed of towels. While it's still fairly wet, you can press in flower petals. Make sure you press them all the way into the pulp. We never perfected this process—lots of our petals weren't attached firmly enough to the paper and fell off once it was dry. You could certainly just stir your flower petals or leaves right into the big bin of pulp in the first place, and that would work well, but if you do it that way you can't lay them out in the pattern and amount you want. Anyway, as long as you press them all the way in and kind of through the pulp, they seem to stay in place pretty well.


7. Now you need to press the water out of the paper. In the tutorial I linked earlier, she says this is where you can use the second of the round screens. You lay it over the top of the pulpy screen and then press down to squeeze water out of the pulp. We did this the first few times, but then we found that just laying a towel right over the pulp worked fine too. It does leave a little bit of the towel texture imprinted, so maybe that's what the screen can help you avoid, if you don't like that. We didn't mind it. She also suggested using a dry sponge to blot over the paper and then squeeze out, back into the bin of pulp. After all was said and done, we thought the very best way to get out lots of water was to just lay the pulpy screen on a doubled up towel, lay another doubled-up towel over the top, and press down over and over. You can use your hands or even step on it with your feet. Just get as much water out of the paper as possible.
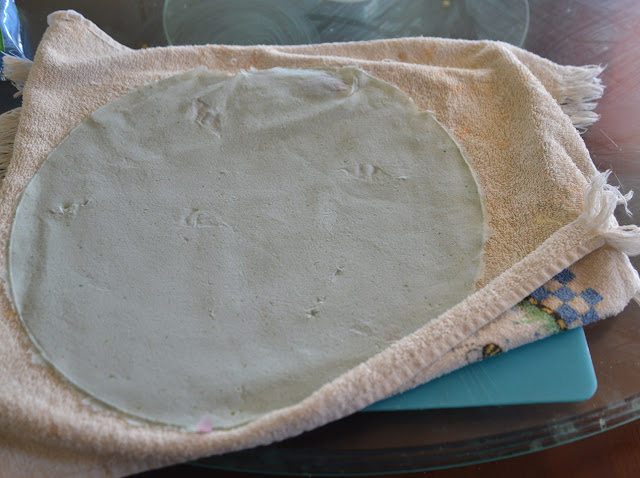


8. Next, you just turn the screen over and kind of whap it so the pulp (now we'll call it paper) falls off in one piece onto a new towel. (We found that putting this towel on top of something stiff, like a cookie sheet or cutting board, made it easier to move later on.) It seems hard at first to get the paper to come off the screen, but if you have gotten it dry enough, it comes quite easily. If the paper is really sticking to the screen, try blotting it more with the towel. Then turn the screen paper-side down, give it a nice sharp rap, and the sheet should fall right off. It is very fragile at this point, so be careful when touching it. If you have to smooth out a wrinkle or something, be really gentle.
9. Take the paper out in the sun to dry (or let it sit in any warm place overnight). Ours dried in a few hours on a very hot day, but we waited until the next day to write on it, just in case.
10. You're done! We liked our homemade paper so much! Junie made the paper in her picture all by herself, and even though it had a few wrinkles and ragged edges, she was so proud of herself! As she should be. It's great paper. We were amazed at how strong, yet flexible, it was.
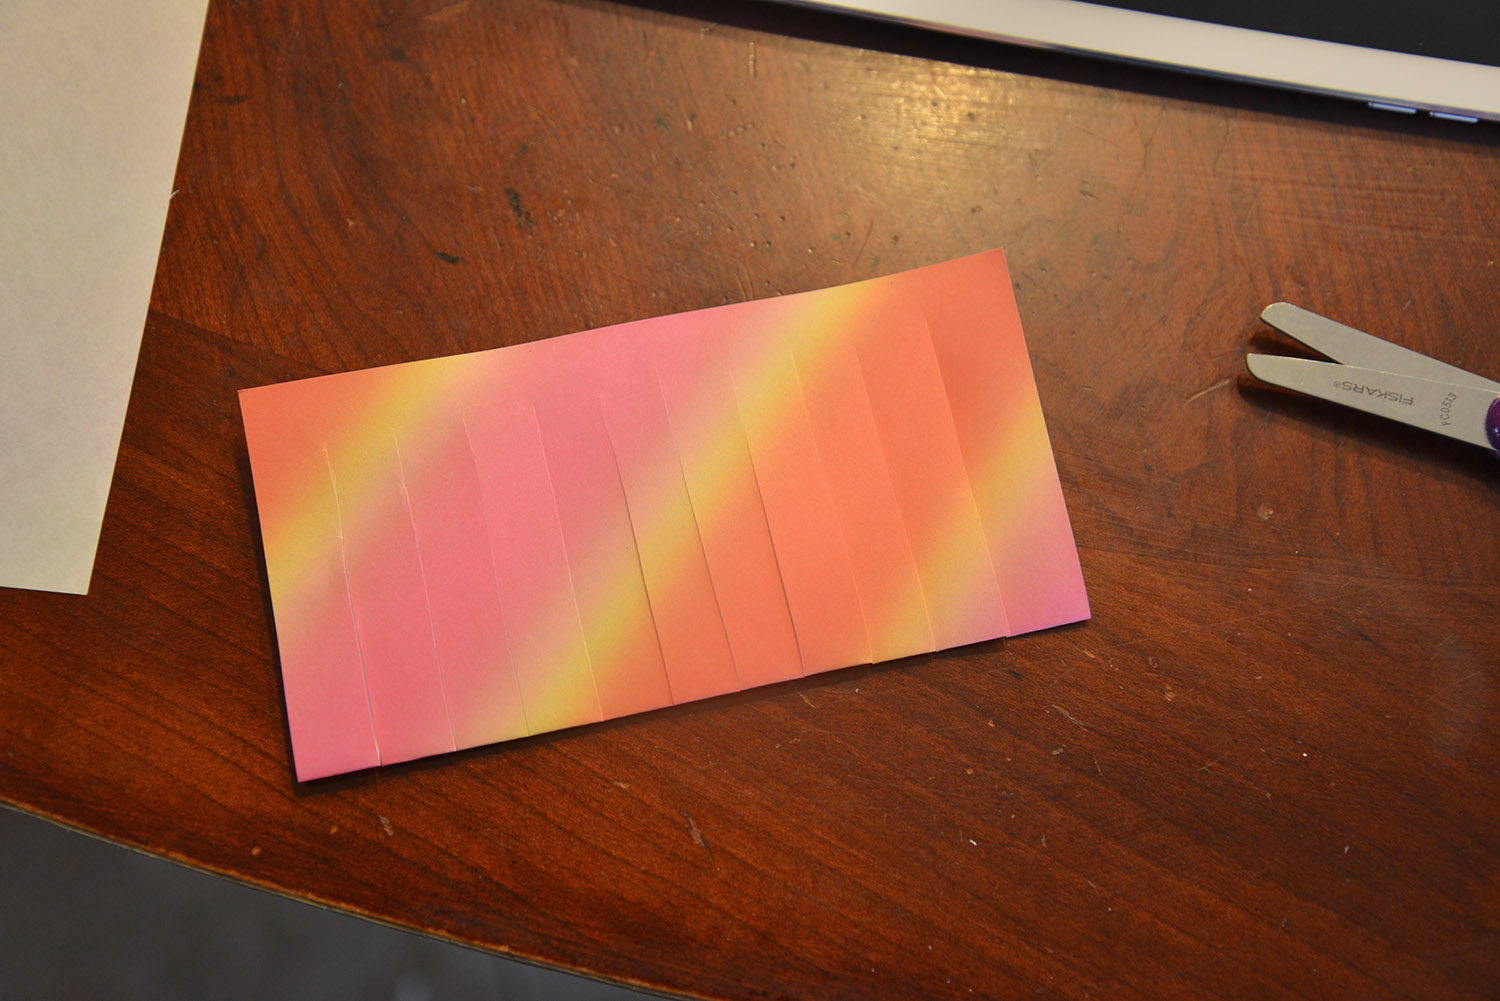
Our handmade paper was really fun to
write on, too. It was quite absorbent and soaked up the ink quickly, and we loved the little plant fibers and flower petals peeking through the paper.
We loved making our own paper! Such a fun project.


