I decided it was time for another Electricity Unit mostly because Teddy had been asking me tons of questions about electricity, and has also been very fascinated with/scared of (those two things often go together) lightning lately. It was funny to realize that the girls haven't learned any of this either, since we last did this unit in 2014. Malachi claims to remember everything, but he was only 6, so I'm not sure I believe him. But he was like Teddy back then—very curious and inquisitive and serious about learning, and a FULL participant in everything we did, so maybe he does remember!
I also feel like I did a more complete job on this unit the previous time through. Abe and Seb both understood a lot about electricity already, and helped me figure out a lot of things! And they were very excited and eager to do all the activities, which is always helpful. I was surprised how much the girls liked working with the snap circuits, etc., too this time—but they weren't AS fanatical about it as the boys were back then. I think this subject was just of particular interest of both of those older boys!
Here is the pinterest board from 2014, with perhaps a few pins added this time: https://www.pinterest.com/marilynnielson/electricity-and-magnetism-homeschool-unit/

Intro to circuits (beware annoying narrators): https://www.generationgenius.com/videolessons/electricity-and-circuits-video-for-kids/?gclid=CjwKCAjwhMmEBhBwEiwAXwFoEW1-Ub4d055l4boFmt-kvSXoab4mptqupBftaK02wHecFK9qWMYfRhoC76IQAvD_BwE

A good place to start when talking about electricity is with the structure of the atom, and by explaining how ions work. Here are the children playing the "pass the electron" game (we do something similar to this one: https://www.nationalgeographic.org/activity/circuits-friends/print/)
Here are some explanatory videos we watched:
Ions: https://www.youtube.com/watch?v=bnudaqeTyto
Atoms: https://www.generationgenius.com/videolessons/atoms-and-molecules-video-for-kids/
Atoms: https://www.generationgenius.com/videolessons/atoms-and-molecules-video-for-kids/
More activities we did last time: https://nielsonschool.blogspot.com/2014/04/electric-current-conductors-and.html
Luckily, we still had most of our electricity and magnetism supplies from last time. They're great to have around for homeschool in general. Here's the list of supplies I made last time, and links to where to get things. Annoyingly, some links are broken, but a google search for that item usually yields lots of choices.
Here are some other videos we used:
The electric eel https://www.youtube.com/watch?v=z0M7_HPSi14
Make a telegraph machine https://www.energizer.com/science-center/how-to-make-a-simple-telegraph-set
Virtual coal power plant tour https://www.youtube.com/watch?v=2IKECt4Y3RI
Nuclear power plant tour: https://www.youtube.com/watch?v=_AdA5d_8Hm0
Hydroelectric: https://www.youtube.com/watch?v=Ki8kSB1ThJQ
Substation: https://www.youtube.com/watch?v=7Q-aVBv7PWM
Make a telegraph machine https://www.energizer.com/science-center/how-to-make-a-simple-telegraph-set
Virtual coal power plant tour https://www.youtube.com/watch?v=2IKECt4Y3RI
Nuclear power plant tour: https://www.youtube.com/watch?v=_AdA5d_8Hm0
Hydroelectric: https://www.youtube.com/watch?v=Ki8kSB1ThJQ
Substation: https://www.youtube.com/watch?v=7Q-aVBv7PWM


You can learn a lot just by playing around with making your own circuits. The children had a lot of fun doing that in an open-ended way with all the supplies we had. Snap circuits are, of course, fun too, but they don't have the immediacy of a real circuit with a bulb and battery you add in yourself.
More ideas for circuit exploration: https://nielsonschool.blogspot.com/2014/04/simple-foil-circuits-series-and.html
And some further study of switches and resistors: https://nielsonschool.blogspot.com/2014/04/resistors-and-switches.html. That link includes an explanation of three-way switches, which I had forgotten and had to relearn this time. Here's Daisy giving another explanation of it:
And a few more resources:
• Make a three-way switch https://www.youtube.com/watch?v=6_TpKdYeQaU
• Make paper circuits with pencil https://www.youtube.com/watch?v=BwKQ9Idq9FM
• Make foil circuits https://www.youtube.com/watch?app=desktop&v=qJDgl9eVpy8
• Make foil circuits https://www.youtube.com/watch?app=desktop&v=qJDgl9eVpy8

Making a homemade light bulb is always fun! It's so dramatic when it burns out.
Instructions here: https://nielsonschool.blogspot.com/2014/04/homemade-light-bulb.html
Or you can refer to these pictoral instructions: https://www.wikihow.com/Make-a-Light-Bulb

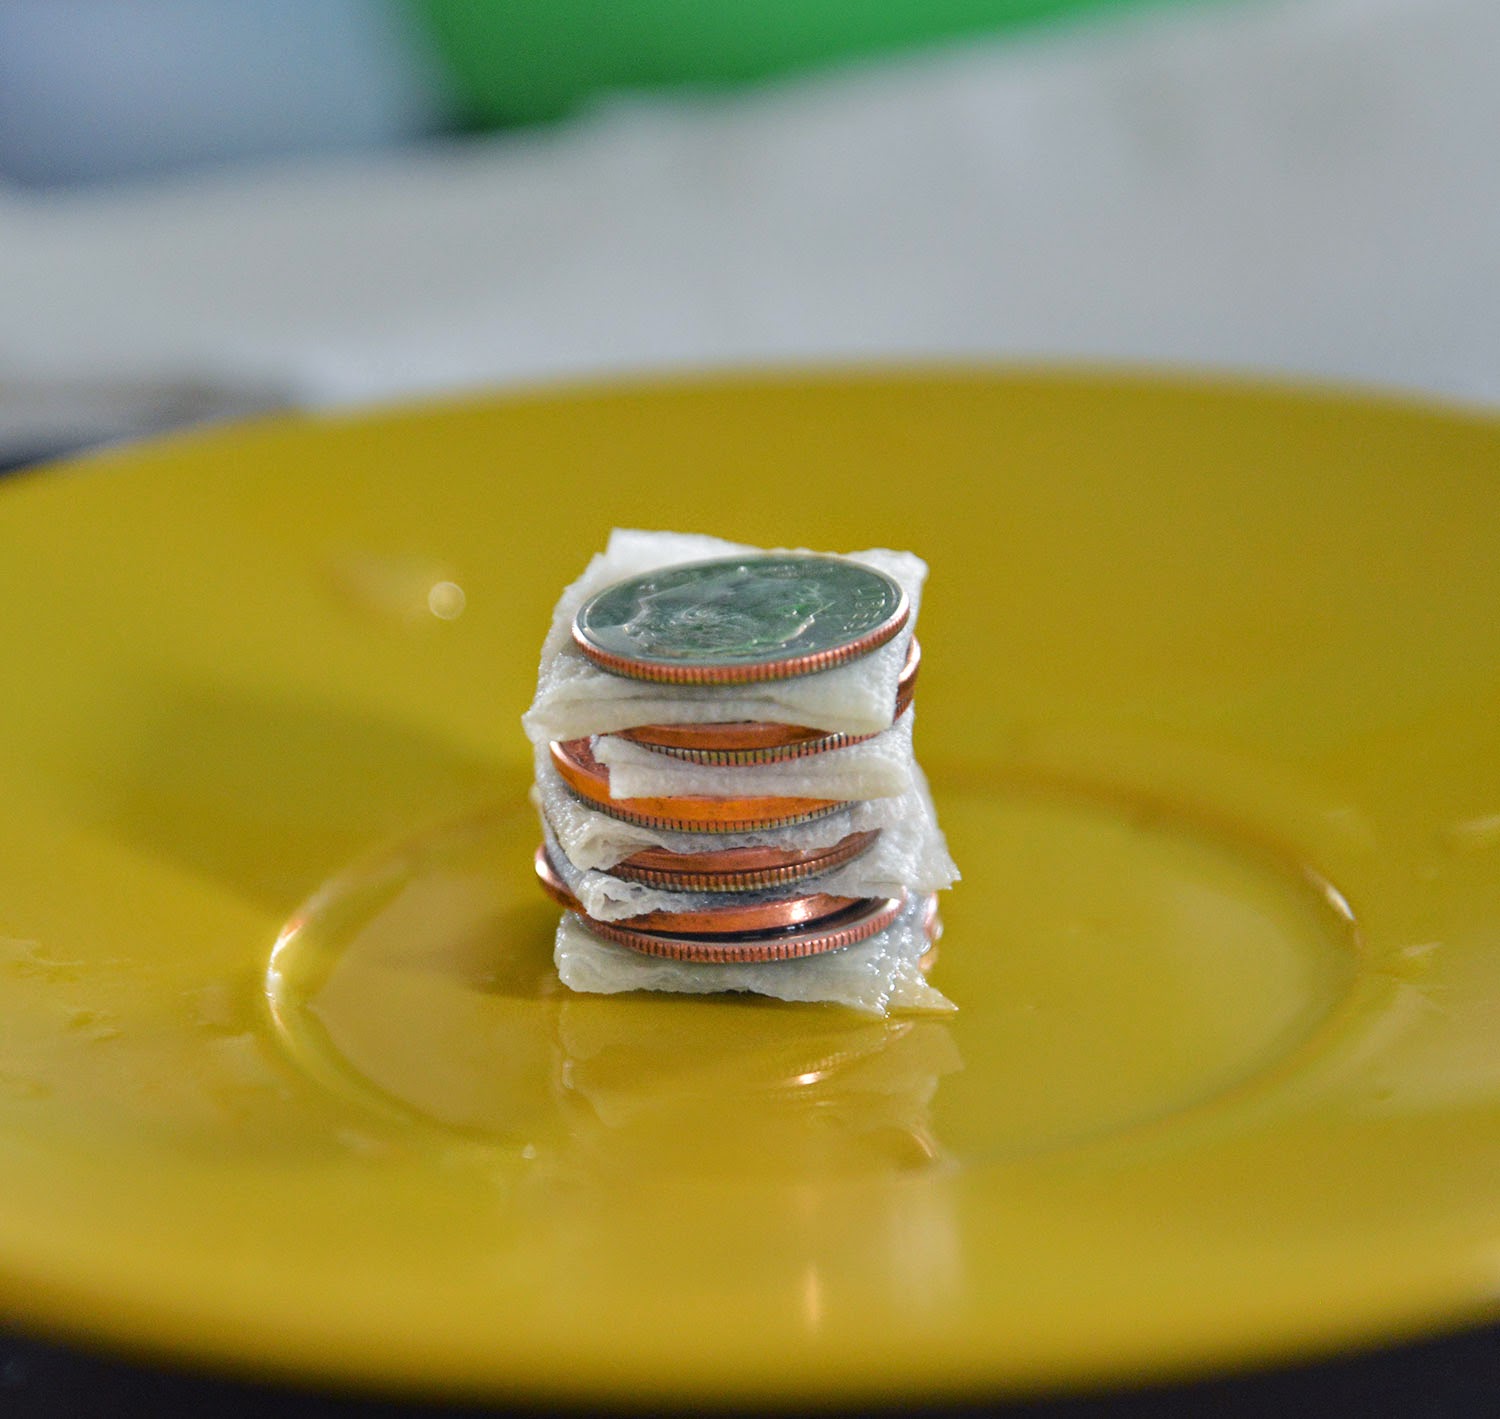
We talked about batteries and made a voltaic pile. (You can also dissect a battery—see that same post)
See also:
• Voltaic pile https://www.sciencebuddies.org/science-fair-projects/project-ideas/Energy_p015/energy-power/make-a-battery-from-coins#procedure
• Hand battery https://www.exploratorium.edu/snacks/hand-battery


Success! The voltaic pile powered our LED.

I remembered that we all enjoyed making these slider cards last time, so we did that again. (Video tutorial here: https://www.youtube.com/watch?app=desktop&v=aurnw8C1aUc) The subject of the slider card was supposed to be something to do with electricity. Let us see if the children followed these instructions. Junie made a cool lightning storm.

Daisy showed a circuit working and explained how it worked.

Goldie drew…the Teddy Bears' Picnic?

And Teddy drew…a tree in summer and winter (plus a green bunny and an "I love you" for me. Sweet.)

Cleaning pennies is a cool demonstration. We also did a simple form of electroplating that was a little different than what we did last time. We had a buy a copper pipe at the hardware store to get our copper ions off of. A few weeks later, that pipe turned out to be the exact right size to replace a towel bar that had broken in one of our bathrooms. How lucky! :)


Some of our electroplated coins

Resources:
• Clean pennies with vinegar https://sciencebob.com/clean-pennies-with-vinegar/
• or this https://www.thoughtco.com/chemistry-fun-with-pennies-602055
• or this https://www.thoughtco.com/chemistry-fun-with-pennies-602055
• Copper plating a nail https://www.youtube.com/watch?v=T3qhqTVssoo
• Or here: https://www.youtube.com/watch?v=gTjWkeSpRqk
• Or here: https://www.youtube.com/watch?v=gTjWkeSpRqk
• How Electromagnets work https://www.youtube.com/watch?v=cxELqN7wjS0
• How a doorbell works https://www.youtube.com/watch?v=1R5ED5qHWZc

We also tried our hand at making paper circuits with copper tape.
(see instructions: https://www.sciencebuddies.org/stem-activities/paper-circuit#summary)
It was surprisingly tricky to make the circuit complete AND make it fit with the drawing you wanted to do! Daisy made a glowing penguin.

Teddy made a green-eyed bunny.

Malachi made…this

Junie made this terrifying monster

And Goldie made a really cool lightning storm!


Here are a few more links for studying magnetism: