Showing posts with label water unit. Show all posts

Wednesday, September 5, 2012

Water Blob and Wave Study

Our last day on water was focused on waves. We learned about how ocean waves get started, and some of their behaviors.  Because we'd enjoyed learning about water slides so much, we made sure to study artificial waves---in wave pools---too.

Here is a good explanation of wave pools (with video)
This video is awesome
We loved this site's information (you may recall we used the companion piece on water slides as well); they have great diagrams and clear explanations of what is going on

We filled up the bathtub and experimented with making different types of waves, using our hands, dropping in objects, blowing with straws, etc. (Here's a good place to start)

This video about how ocean waves develop was pretty good too.

There are some interesting ways to harness energy from waves and tides, which we read about in some of our library books (This one was probably the most informative on the subject)--but I think the information online is the most up-to-date.

Then, on to the water blob! This was such a fun way to observe waves in motion, and to experiment with their origins and their effects! I only wish our yard was flatter so we hadn't had to be bunched down at the bottom of the hill. But hearing Daisy say "I want to go play on the Bob!" for the next few days was adorable.

Here's the tutorial for the Water Blob. It's really simple and straightforward. The only challenge is keeping the duct tape from sticking to itself or to the wrong places---but we got better at that as we went. :)
Taping the sides
Filling the blob (we added blue food coloring; a little went a surprisingly long way!)

Junie was SO EXCITED when we put her on the blob. She widened her eyes and wrinkled up her nose and giggled and giggled. She kept looking over at me and laughing, like, "Can you believe this?!" The boys bounced her up and down, and she fell over and scrambled up again, and loved every minute. So cute!

Monday, September 3, 2012

Hydropowered "Generator"

Well, frankly, this was a little disappointing. When I was preparing to teach about hydropower and generators, Sam said, "Why don't you build a generator?" I didn't think I could handle helping the boys do that by myself (I'm just barely learning how they work myself!), but the more I thought about it, the more I thought the boys would get really into that idea, so I finally found some instructions that seemed detailed enough for even me to follow. They had pictures and a supply list and everything. The hardest part was finding copper magnet wire, which the instructions acted like could just be picked up at any old store. Home Depot and Lowe's didn't have any of this gauge (very small---24), and neither did Radio Shack, where they sent me. I finally ordered it from Amazon, which I should have done in the first place.

The rest of the supplies were mostly things we already had, or fairly easy to come by, so we set aside an afternoon to work on it. Seb and Abe (the only ones I really thought could participate) were SO excited. We wound and wound and wound until we had four coils of wire. But then things started to be complicated. We didn't have quite the right size cork, or quite the right size dowel, and we tried to make it work but we weren't sure if it was going to. And our current, when we tested it, was definitely doing something . . . but we couldn't quite tell if it was doing what it was supposed to do.
Anyway, the long and the short of it is, the turbine turned beautifully (with enough water pressure, e.g. the hose) but we couldn't tell if it was actually generating any power for us or not. The tiny flashlight bulb we tried to hook up didn't light, but we weren't sure if that bulb would even work with alternating current, and then our multi-meter didn't get consistent readings, but we don't know if that's because we didn't have good contact with the wires (hard to hold it still when you're trying to hold the hose on the turbines) or because the current wasn't running. There were just too many variables. Was the incorrect dowel size causing trouble? We couldn't see why it would be, but who knows? Did it matter that I put the turbine in the bottle upside down (yes, that was my stupid mistake) so we were sending in the water from the bottom instead of the top? I just don't know enough to decide what matters and what doesn't.
After spending so much time building the thing, we were quite sad not to know if was actually working or not! However, the upsides were: 
  • it was cool making the turbine spin---the boys loved that, and it was impressively fast and powerful (better than our paper cup waterwheels).
  • it was pretty fun to build---we liked wrapping wire and cutting spoons and so forth
  • we really got a solid understanding of the parts of a generator. You always remember things better when you've handled them and worked with them; so now, for example, the boys don't forget which part is the stator and which is the rotor, or which part has the magnets, or why the turbine has to be attached to a shaft that turns the rotor, etc. I feel like I truly grasped those concepts for the first time as we were making it.

So I wouldn't say it was a waste of time, and I do think it was probably our mistakes that caused us to go wrong, not the instructions---they were pretty clear. (Though perhaps they could have been slightly clearer . . . ) This is a project we may attempt again later, when I've recovered from this time. :)

Friday, August 31, 2012

Refraction

One of Sam's lessons for this unit was on refraction. I list it here mostly so I can include this picture:
of Abe reacting delightedly to Sam showing how the markers were reversed, and upside down, through the glass. We love our Daddy classes!
Here's Abe's drawing of refraction
And Seb's

Reservoir cookies

This was a spur-of-the-moment idea I had one day when we didn't have many activities planned. I told the children we were going to make reservoir cookies! They are just kiss cookies with ganache filling instead of kisses. :) Of course you could use any kind of thumbprint cookies, but I'm not as fond of the "butter/shortbread cookie" as I am of peanut butter, so this is what we did. I see I haven't posted the Kiss Cookie recipe before, so here it is, modified for "reservoirs":

Reservoir Cookies

2 sticks butter or margarine (1 cup)
1 cup peanut butter
1 c. sugar
1 c. brown sugar
2 eggs
2 t. vanilla
3 c. flour (about 15.8 oz.)
2 t. baking soda
1 t. baking powder
1/2 t. salt

Roll dough into balls, then roll in sugar. Bake at 375 for 9 minutes. Immediately after removing pan from oven,  make an indentation in the middle of each cookie with your thumb (it didn't burn me, but maybe I'm strange) or a small lid (e.g. from a lemon juice or vinegar bottle). Pour chocolate filling (see below) into each hole to make a tiny reservoir or lake. For more complicated reservoirs, make bigger cookies and add chocolate chip dams, incoming tributaries, etc.

Chocolate Reservoir Filling:
1 c. chocolate chips or semisweet chocolate, chopped
1/4-1/2 c. evaporated milk or cream

Combine chocolate and 1/4 c. of milk or cream in glass bowl and microwave for 1 minute on high. Stir until smooth and glossy. Keep adding milk or cream and stirring well until the consistency is spoonable, but not too runny. You can also add 1 t. of corn syrup for glossiness, if desired.

****
The real fun of this came in making bigger cookies that could convey more complicated data! We made a sample of each main type of dam, embankment dams and masonry dams.
Here is Abe's

And Seb's, an Arch Dam

Oh how we enjoyed gobbling these up!

Saturday, August 25, 2012

Flaming Gorge Dam

The culmination of our study of dams was a trip to Flaming Gorge Dam in Eastern Utah. Upon looking up our route on the map the day before we left, we were excited to see there would be two other dams and reservoirs along the way! The boys were looking out for them with their beady little eyes the whole time we drove. Here is the first, a small embankment dam called Mountain Dell, I think?
So lovely in the morning light!

And the next, also embankment, was Echo Dam and Reservoir. The water level here was really low!

We were also pleased to spot lots of windmills as we drove!
Flaming Gorge itself is gorgeous! (ha ha) It goes on for miles (we didn't nearly drive around it all)

We enjoyed driving across this bridge as we got close

From the top, the dam isn't that huge---I assumed the water wasn't that deep, maybe 100 feet or something. But once we got around to the other side . . . 

we could see that estimate was way off! I think our guide said it's 500 feet high. It's even a bit longer from side to side than Hoover Dam---though much, much shorter in height!

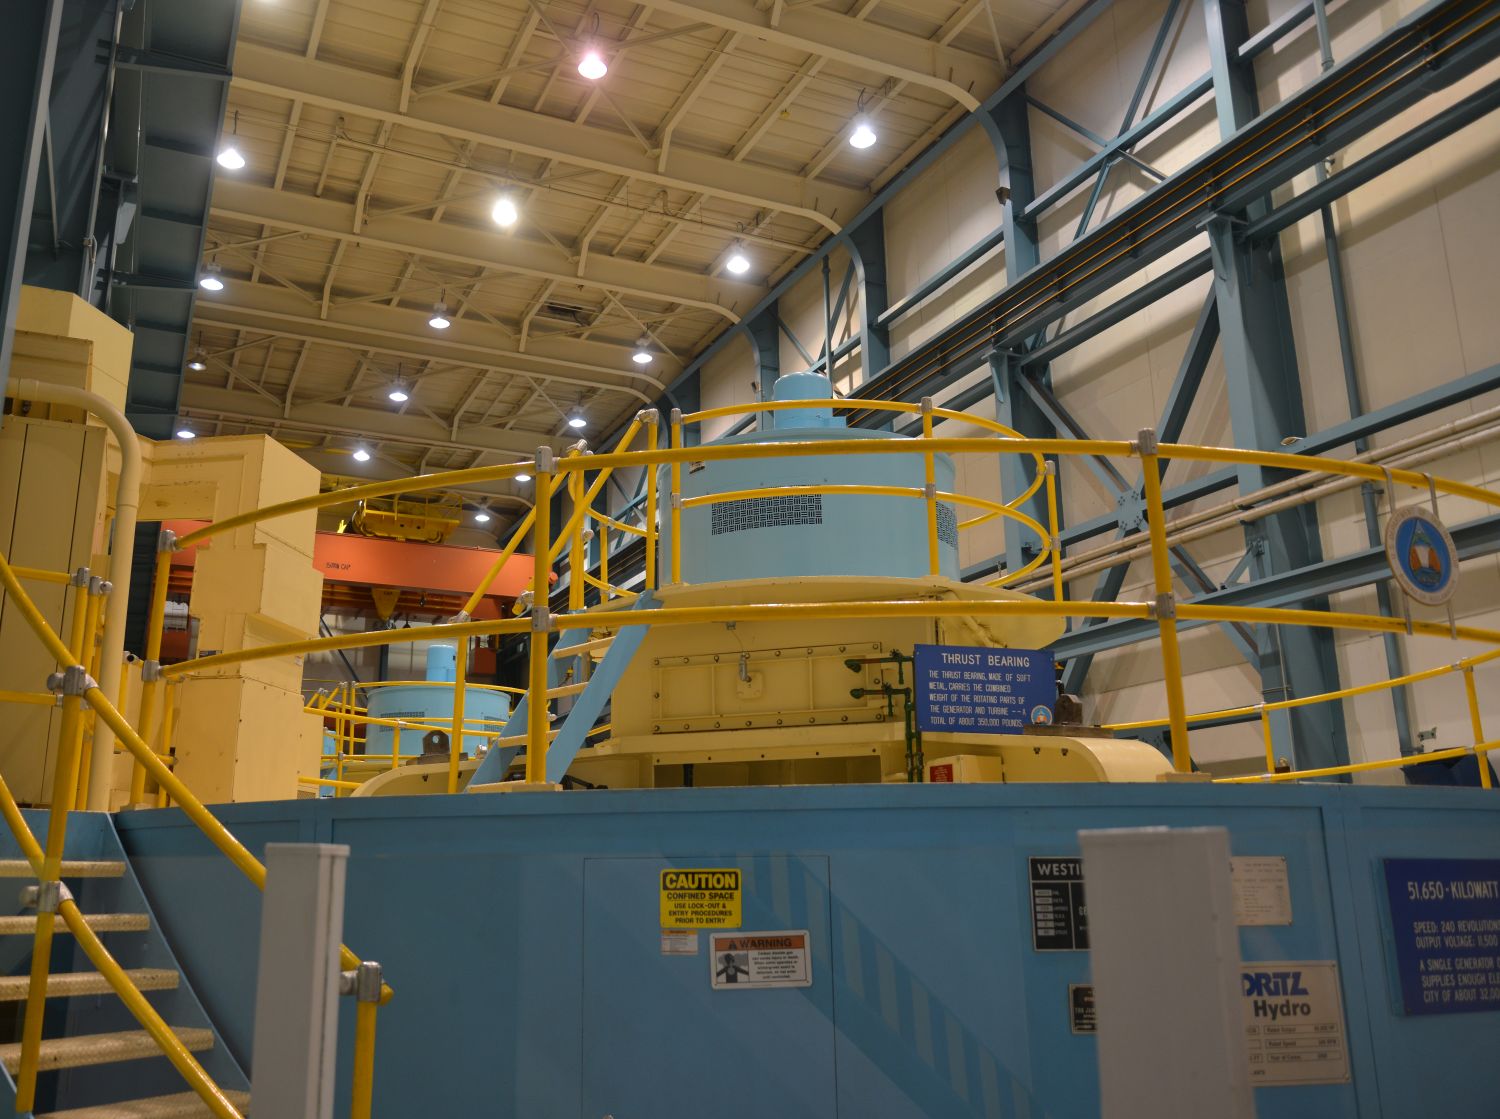
It was so exciting to see all the parts of the dam---we could hardly believe that the tour let us go into the powerhouse and see the generators at work! The children were SO curious about everything (the guide said she'd never seen children like them---er. . . I believe her exact words were that they were the "most dam knowledgeable" kids she'd encountered on this tour. Ha ha. :))
Power lines. It was stormy, and not too comforting to hear another guide tell ours as we left for our tour, "Just make sure you don't get hit by lightning!" This impressed the children greatly, and when they asked if the dam had been hit by lightning before, our guide replied, "Oh yes---lightning has hit the dam, the powerlines, the visitor's center---we all ended up on the floor after that one!" It added a delicious thrill to our visit.

Looking down

Sluice gates, leading to the penstocks

Inside the powerhouse---three big generators!

Malachi. That dark grey shape in the background is an old turbine.

Looking up from the bottom

These were interesting---hollow jet valves, I think they were called? They're an alternate release system, in addition to the spillway. They can bypass the turbines and let water out here if they need to work on the generators or release water pressure a bit. Our guide said these were in use all last summer. The spillway (not pictured---it's higher up), on the other hand, has only been used once, in 1983!

Here's the end of one of the diversion tunnels they used while constructing the dam

Reservoir from above

And, looking the other direction, the top of the dam

It was a great field trip, well worth the long drive and the late night getting home---especially since we got to enjoy views like this as we drove!

Thursday, August 23, 2012

Building dams on beach

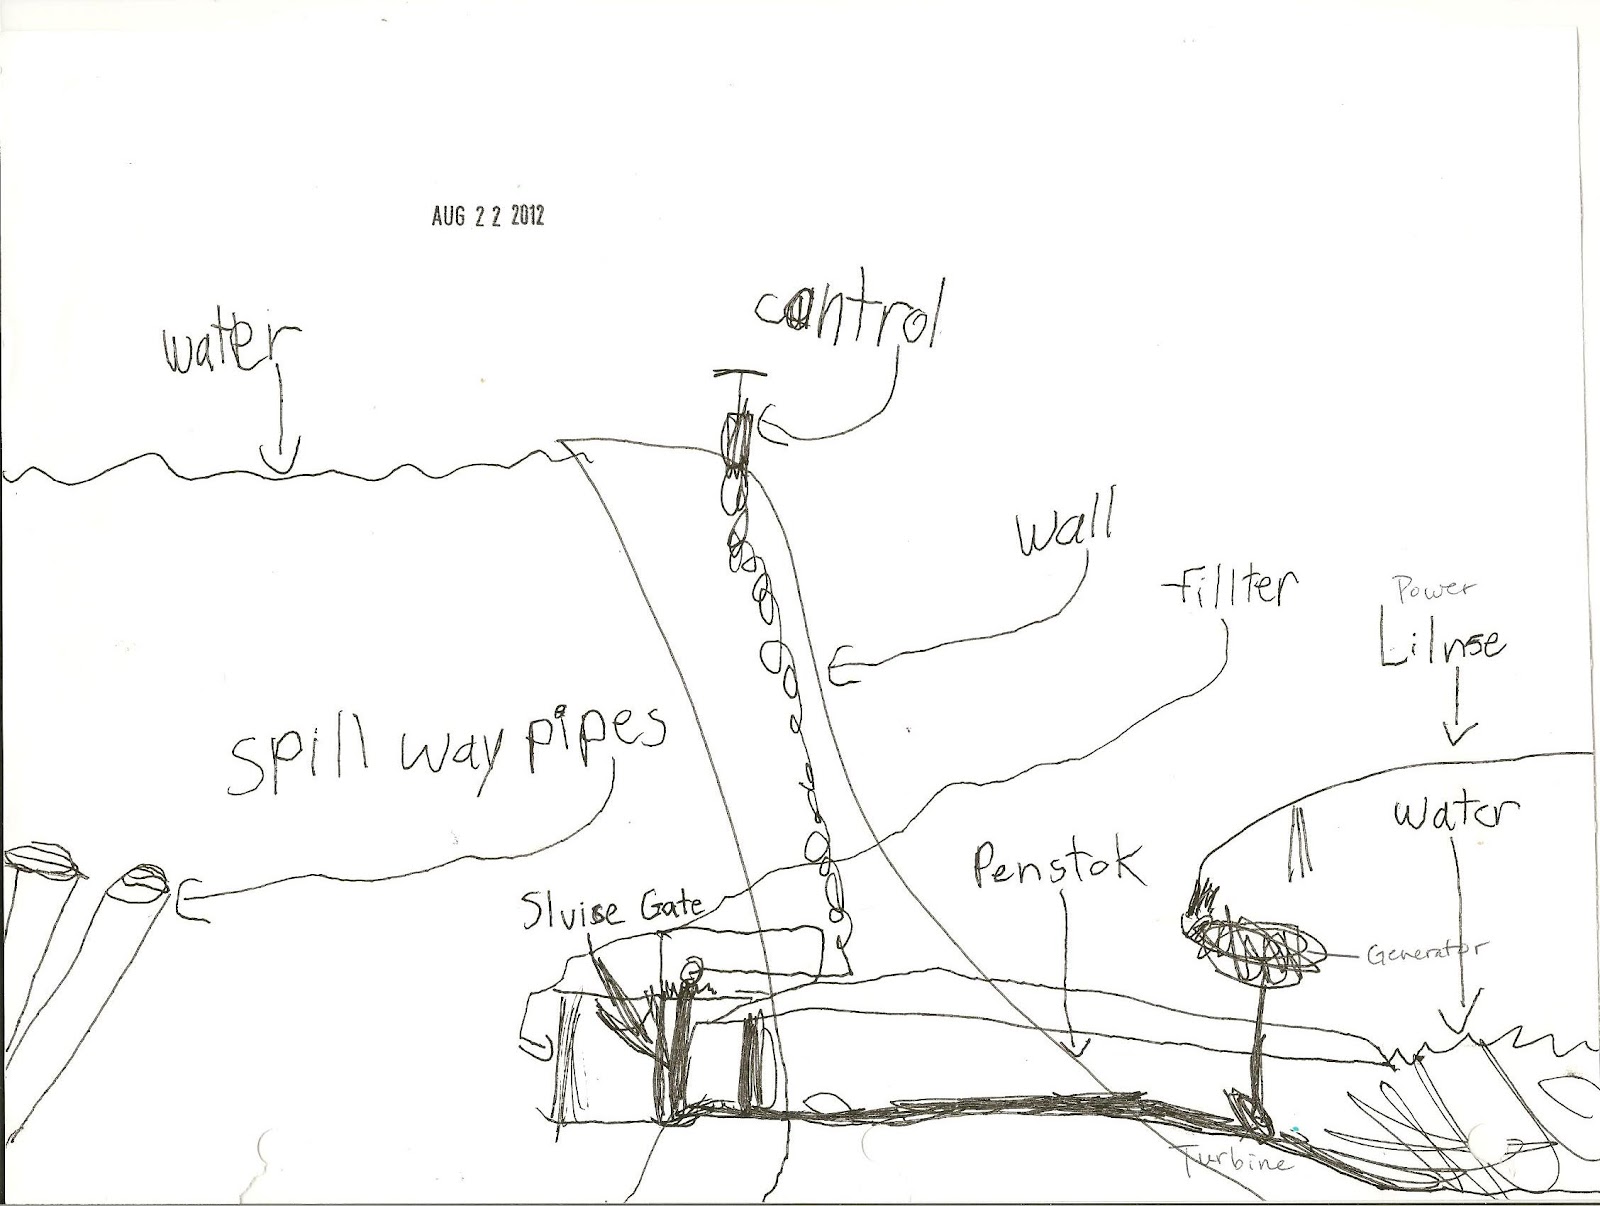
We were really excited to get to studying dams, because that was one of the whole reasons we did this unit: the children (especially Seb) love dams! Our previous study of water pressure and waterfalls and mills made it really easy to understand the potential energy that can build up in a head of water. We drew lots of diagrams of how dams work:
One of Seb's diagrams
I wanted to have the children make a dam, but wasn't sure where to get enough sand/mud to make it fun. Finally realized the beach would be perfect (we brought some of our own gravel and big stones to use with the sand). It was so fun to watch all the different models everyone came up with, and the modifications they made as they discovered what worked and what didn't! Next time we will also bring large tongue depressors to use; I saw a video using those and popsicle sticks, and it looked like they worked quite well.

We did have one casualty to this activity: my large square rubbermaid container, which apparently floated out to sea. Other than that, we had a great time! :)
Such busy workers!

Junie was quite, some would say TOO, brave and independent at the beach. She went everywhere! When she spied these ducks, she took off like a shot after them, quacking frantically as she went. I had to run to catch her so she wouldn't follow them right into deep water!
"You are not a duck!" I said, and this was her sad response.

This was quite an effective dam---using my good cake pan, of course

Directing the flow

Is this baby wearing brown leg warmers?


This was another day---we built an arch dam with clay and cardboard, to measure the strength of different arch arcs (?) and determine which type of arch held the most water before failing. Very interesting.

One night this week we also watched David Macaulay's documentary Building Big: Dams. It's excellent; one segment of a 6-part series which we hope to watch the rest of sometime. We got it on Netflix.
Related Posts Plugin for WordPress, Blogger...