
Afterwards, we made crickets. I found a few suggestions for showing the "cricket-chirp mechanism"(?) online, but none seemed quite accurate enough to be useful. In our books, the descriptions we read said one wing is serrated, like a comb, and the other wing is stiff, and the rubbing together of the wings makes the sound.
I found a paper-craft cricket pattern here, but it was very small and difficult to fold, so I knew that wouldn't work for the kids (plus it didn't chirp). Instead, I modified that pattern and enlarged it to just be a cut-out. I left in a few of the fold lines along the abdomen so it would have some texture. Then we just cut out both sections and attached them to a toilet-paper roll. (I can't believe I'm describing this; I feel silly doing so because I'm not even GOOD at crafts, but this worked and it got across the point I was trying to teach, about the way the wings work, so I just reproduce it here in case it's at all helpful for anyone else Googling "cricket craft" like I was.)
Okay, so here are the images I printed (each of these was full-page size; on the lower image you only need one of the bodies, obviously, per cricket)


The dotted lines are "mountain" folds, the dot-dash lines are "valley" folds
Next, you make a slit and a hole about 1/3 of the way into the toilet paper tube. Into the slit you slide a comb; into the hole you insert a drinking straw (larger-diameter straws make a more resonant sound).
Then you just tape the head, thorax and wings of the cricket the the front of the toilet paper tube, on the short side, in front of of the straw and comb. Leave the wings free; they flap up and cover the comb and straw (since the comb and straw are supposed to be PART OF the wings). You can tape the comb to its wing, but leave the straw free since you'll be getting it in and out. You can cut the straw so it's the same length as the wing.

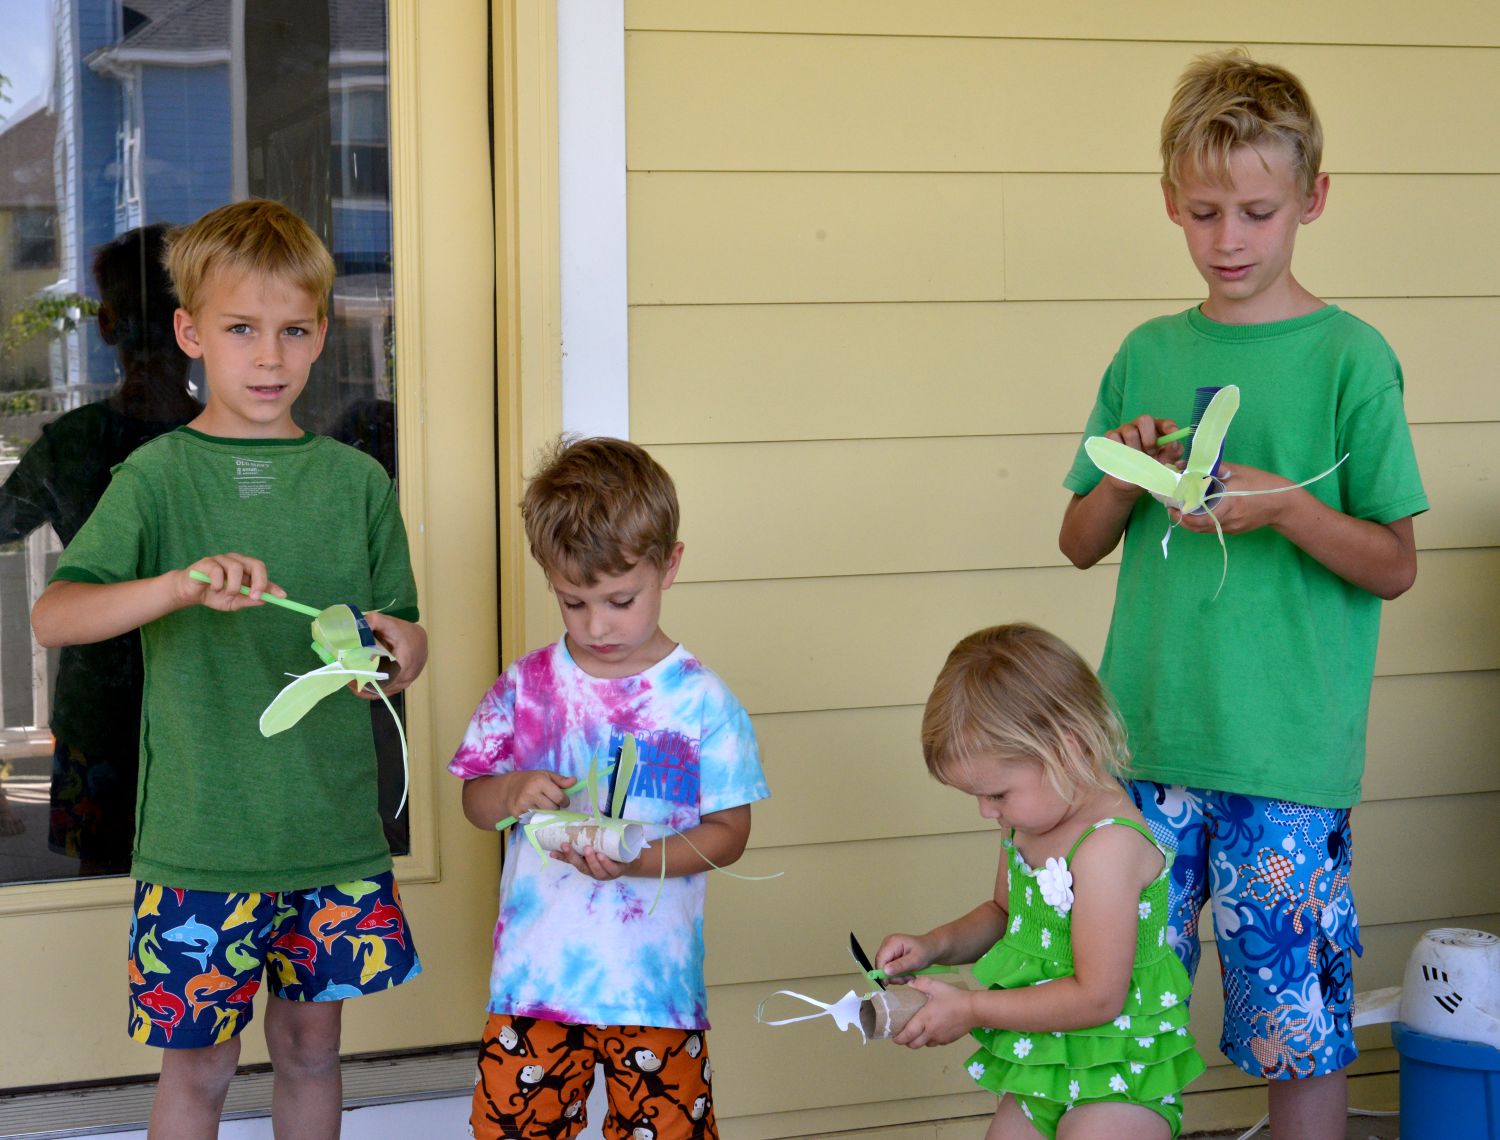
Like so. Ignore those green tubes; Seb just taped the extra parts of his straw onto his cricket's back for fun.
Behind the straw and comb (on the other 2/3 of the tube), you tape the abdomen. Fold the sections first if you want it to be ridged. Then tape it down, so the legs wrap around the side of the tube.


From the front he looks like this.
To create stridulation, you remove the straw and scrape it along the comb. My kids liked experimenting with different techniques to get better sound (along the inside of the comb teeth vs. along the outside, with the end of the straw vs. with its side, etc.)
If you'd like to hear the sound, you can listen to this: (it's not exactly like crickets, but you can imagine how this same effect does produce their sound. I think if I could have found a way to get higher-pitched combs [smaller ones?], the sound would have been pretty realistic).

No comments:
Post a Comment